There’s a universally shared frustration that comes with a charred, black marshmallow. You started with such hope, a pristine white cloud on a stick, only for a moment of inattention or an ill-placed roast to turn it into a bitter, smoky cinder. Yet, the dream persists: that perfectly golden, evenly toasted marshmallow, molten within, ready to unite with chocolate and graham cracker. It’s a fundamental part of the campfire experience, and achieving that dream is entirely within reach. Forget the scorched disappointments of the past; it’s time to master the art of the perfect s’more.

Understanding Campfire Heat Zones
The first secret to making perfect campfire s’mores without burning lies in understanding your heat source. A campfire isn’t a uniform furnace; it’s a dynamic landscape of varying temperatures. Positioning your marshmallow correctly is paramount.
- The Red-Hot Ember Zone: This is your sweet spot. After the initial flames have died down and settled, you’re left with glowing red embers. This area provides consistent, radiating heat without the aggressive, direct flame that causes instant charring. Aim for the space just above these embers, where the air shimmers with heat but no visible flame licks at your marshmallow.
- The Visible Flame Zone: This is the danger zone. While visually dramatic, direct flames are far too hot for marshmallow roasting. They will ignite the sugar almost instantly, leading to a burnt exterior and a cold, raw interior. Avoid this area at all costs for ideal results.
- The Cooler Perimeter: Located further out from the main heat, this zone is often too cool to achieve proper caramelization. While it won’t burn your marshmallow, it will likely result in a marshmallow that’s only warmed on the outside and not properly melted within.
Your goal is to find the invisible column of heat rising from the embers, far enough away from the flames to prevent scorching, but close enough to ensure thorough melting and browning.
Selecting the Right Marshmallows
While any marshmallow can technically be roasted, some are certainly better suited for achieving a desirable texture and flavor for your how to make s’mores efforts.
- Standard vs. Gourmet: Regular, store-bought marshmallows (like the classic Jet-Puffed) are reliable and melt beautifully. Gourmet marshmallows, often larger and denser with more complex flavors, can take longer to roast and may have a different melting consistency. For beginners focusing on technique, start with standard marshmallows.
- Size Matters: Standard large marshmallows (about 1.5 inches square) are generally the easiest to work with. Mini marshmallows burn too quickly, and jumbo marshmallows can be challenging to roast evenly all the way through without burning the outside.
- Density and Sugar Content: Marshmallows with a higher sugar content will caramelize faster. Denser marshmallows will require more time over the heat to become gooey inside.
For consistent roasting marshmallows campfire results, aim for fresh, standard-sized marshmallows.

Choosing and Preparing Your Roasting Stick
The humble roasting stick plays a crucial role in your s’mores recipe tips.
- Metal Skewers: These are durable, reusable, and often designed with a handle. Metal conducts heat well, which means the marshmallow can cook from the inside out slightly faster. Look for skewers with at least a 2-foot length to keep your hands a safe distance from the fire.
- Wooden Sticks: The traditional, rustic choice. If foraging, ensure the stick is green (not dry and brittle), sturdy, and free of any toxic sap or bark (avoid poison ivy, oak, etc.). Birch, maple, or willow are generally safe bets. Sharpen one end to a blunt point to easily skewer the marshmallow without tearing it. Aim for a length of 3-4 feet.
Regardless of your choice, ensure your stick is clean and long enough for safety and comfortable roasting.
The Slow-Roast vs. Quick-Toast Debate
The “right” timing for marshmallow roasting technique largely depends on your preference for texture. There’s a subtle art to knowing when to pull it from the heat.
- The Slow-Roast (Recommended): This method involves holding the marshmallow steadily in the ideal ember zone, slowly rotating it for 2-4 minutes. The goal is a deeply golden-brown exterior that is slightly crisp, with an interior that has completely liquefied into a molten, sugary cloud. This is the path to achieving truly perfect campfire s’mores without burning.
- The Quick-Toast: This technique involves briefly holding the marshmallow closer to, or even momentarily in, direct flame to achieve a rapidly charred or lightly browned exterior. The interior will often remain cool and firm. While some prefer this contrast, it’s far riskier for burning and doesn’t offer the same gooey satisfaction.
For a superior s’more experience, embrace the slow-roast. Patience is key!
Step-by-Step Marshmallow Roasting Technique
Here’s how to execute the slow-roast marshmallow roasting technique for ultimate success:
- Skewer Securely: Pierce your marshmallow firmly onto the stick. If using a wooden stick, go deep enough so it won’t spin freely, but not so deep it breaks apart.
- Find Your Zone: Locate the sweet spot above the glowing embers, away from direct flames, where the heat is radiant but not aggressively hot. This is typically 6-12 inches above the embers.
- Constant, Slow Rotation: This is the most critical step. Begin to slowly and continuously rotate your stick. Think of it like turning a rotisserie chicken – you want every side of the marshmallow to receive even exposure to the heat. This prevents one side from burning while others remain pale.
- Observe and Adjust: Watch closely. You’ll see the marshmallow begin to puff up, soften, and slowly change color. If it starts to brown too quickly, pull it back a couple of inches from the heat. If it’s not browning at all, move it a little closer.
- Patience is a Virtue: Resist the urge to rush. The goal is not just a brown exterior, but a thoroughly melted interior. This takes time, usually 2-4 minutes, depending on the heat of your fire.
Achieving the Golden Exterior
That coveted golden-brown exterior is a result of the Maillard reaction – the same chemical process that browns toast and sears steak. It creates complex, delicious flavors. To achieve it:
- Even Heat Distribution: Continuous, slow rotation ensures every surface gets its turn in the radiant heat, leading to uniform browning and preventing hot spots that cause charring.
- Don’t Be Afraid of the Puff: As the marshmallow heats, it will expand and puff up. This is a sign that the internal sugars are melting and steam is building, creating that desired gooey core.
- Timing for Ideal Color: Aim for a rich, golden-brown hue, like toasted bread or a well-caramelized sugar. If it starts to darken rapidly, remove it immediately.
- Pro Tip: If your marshmallow catches fire (it happens!), don’t panic. Gently blow out the flame. This will usually leave a crispy, slightly charred shell that you can carefully peel off to reveal the gooey goodness underneath.
Assembling the Perfect S’more
Once your marshmallow reaches peak perfection, the assembly needs to be swift. Have your graham crackers and chocolate ready.
- Place a piece of chocolate on one graham cracker half.
- Carefully slide the hot marshmallow off the stick onto the chocolate. The heat of the marshmallow will begin to melt the chocolate.
- Top with the second graham cracker half and gently press down. The warm, gooey marshmallow will act as “glue.”
- Enjoy immediately!
Chocolate and Cracker Variations
While the classic combination is hard to beat, feel free to experiment with your s’mores recipe tips:
- Chocolate Choices:
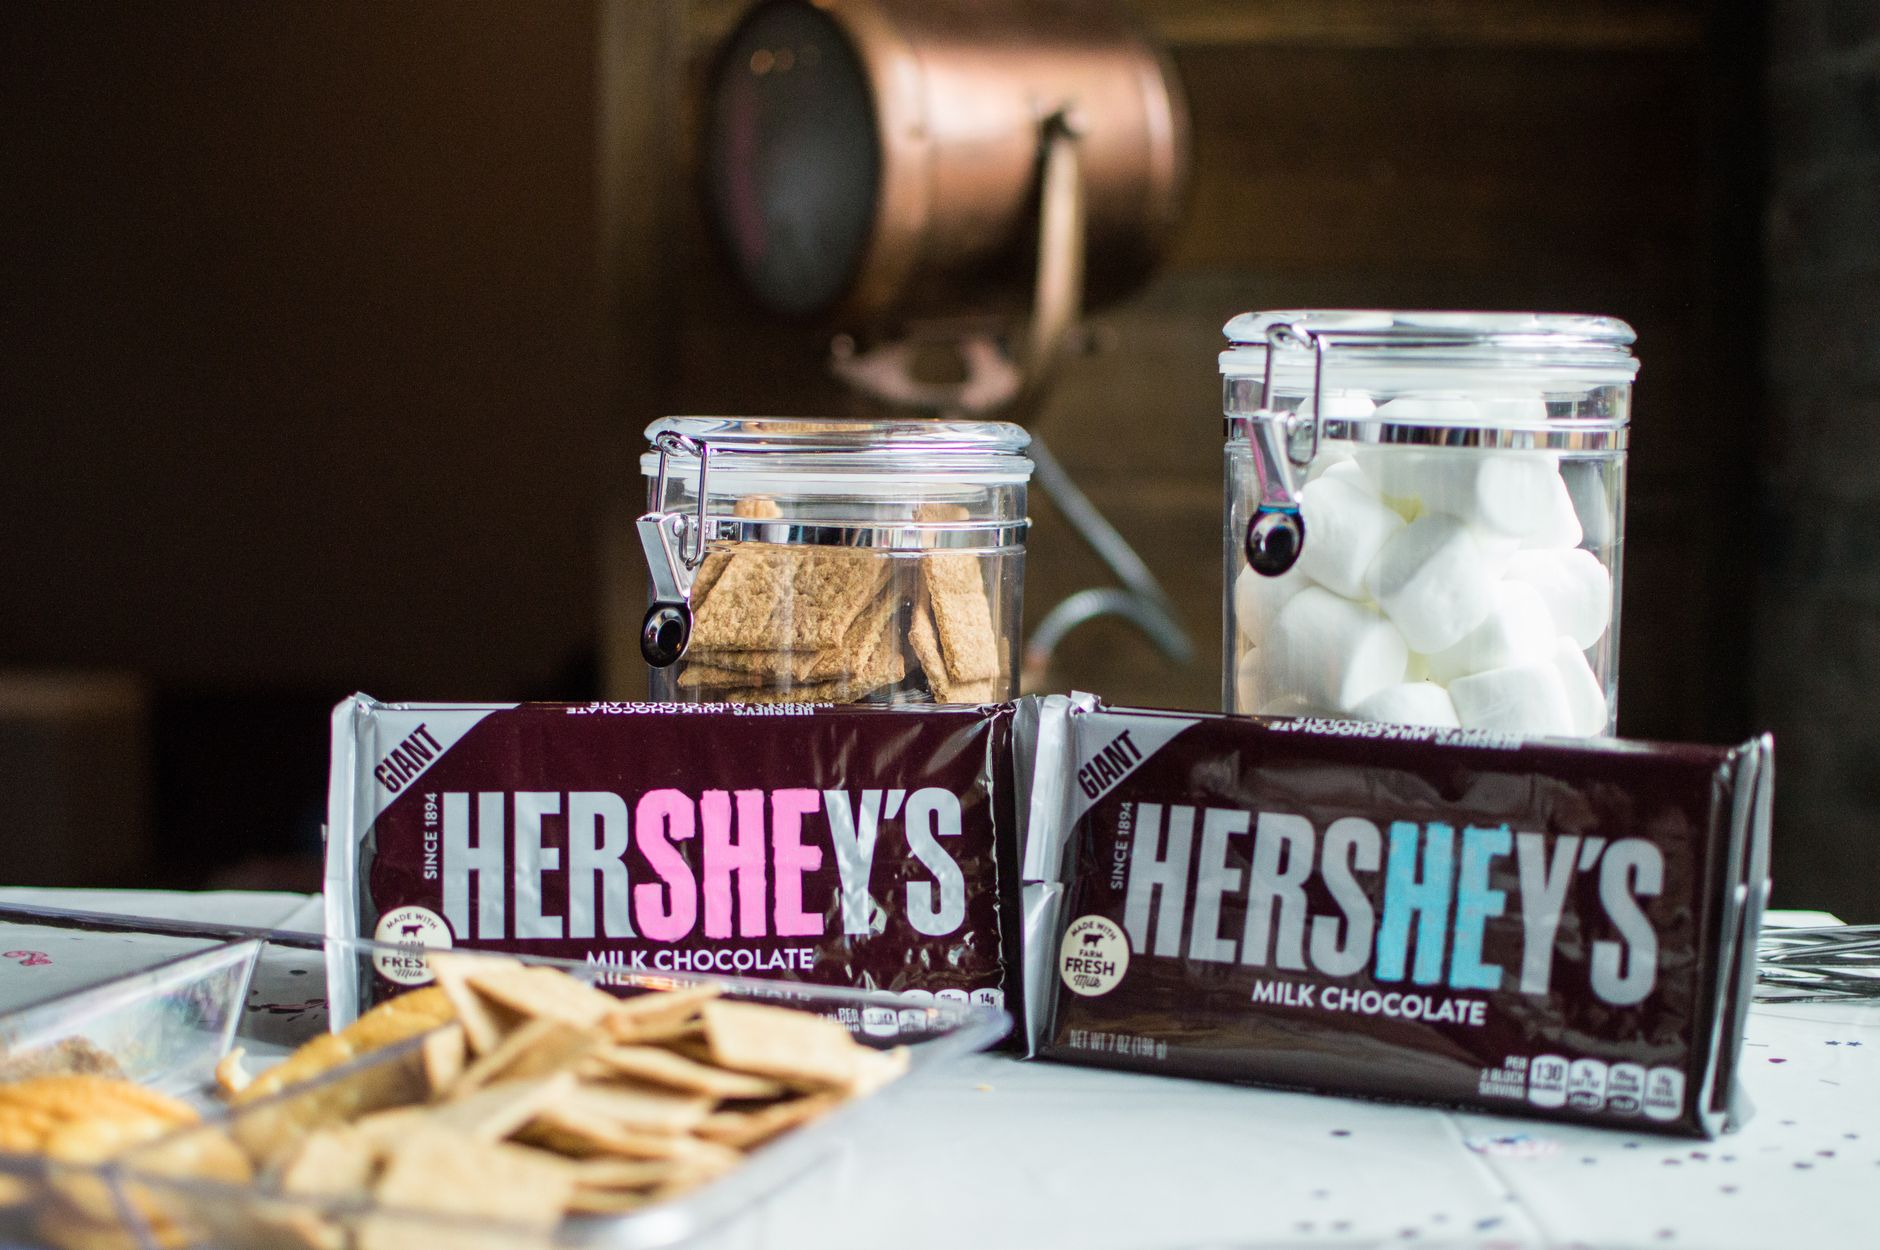
- Classic Milk Chocolate: Hershey’s milk chocolate bars are the traditional choice for a reason – they melt beautifully.
- Dark Chocolate: For a richer, less sweet s’more, try a 60-70% cacao dark chocolate.
- White Chocolate: Offers a creamy, distinct sweetness.
- Peanut Butter Cups: A divine upgrade for peanut butter lovers.
- Caramel Squares: Place a small square of soft caramel on the graham cracker for an extra layer of sweetness.
- Cracker Choices:
- Graham Crackers: The quintessential choice, providing a sturdy base and a slightly honeyed flavor.
- Chocolate Graham Crackers: Double down on the chocolatey goodness.
- Shortbread Cookies: For a buttery, crumbly twist.
- Digestive Biscuits: A common European alternative that offers a satisfying crunch.
- Pro Tip: Slightly warm your chocolate squares near the campfire (but not directly in the heat) for a few seconds before assembly. This gives them a head start on melting once the hot marshmallow hits.
Troubleshooting Burnt and Raw Marshmallows
Even with the best intentions, mishaps can occur. Here’s how to address common issues:
- Burnt Marshmallow: This usually means you were too close to the direct flames or didn’t rotate fast enough. The sugar ignites quickly. If it’s just lightly charred, you might be able to peel off the burnt layer to reveal a gooey interior. If it’s black and hard, unfortunately, it’s best to discard and try again, adjusting your position relative to the fire.
- Raw Interior: If your marshmallow is brown on the outside but firm and cold inside, it means you either didn’t roast it long enough or you were in too cool a heat zone. It may also mean you moved it too close to flames initially, browning the outside before the inside could melt. The solution is more time in the *correct* heat zone with consistent rotation.
- Pro Tip: Keep a small bowl of water nearby for safety, both for extinguishing minor marshmallow flames and for cooling down hot sticks before handling.
Frequently Asked Questions
What’s the best roasting technique for marshmallows?
The best roasting technique for marshmallows is the “slow-roast” method. Position your marshmallow about 6-12 inches above glowing red embers (not direct flames) and continuously rotate it slowly for 2-4 minutes until it achieves a deep golden-brown color and feels completely soft and gooey throughout.
Why do marshmallows burn so easily?
Marshmallows burn easily because they are primarily made of sugar, which has a low smoke point and caramelizes very quickly. Direct exposure to the high heat of flames causes the sugar to rapidly carbonize and burn rather than simply caramelize. Lack of constant rotation also leads to one side receiving too much heat.
What type of stick is best for marshmallow roasting?
Long metal skewers (at least 2 feet) are excellent for even heat distribution and safety. If using a wooden stick, choose a sturdy, green (not brittle) branch that is at least 3-4 feet long, non-toxic, and sharpened to a blunt point. Both options keep your hands safely away from the fire.
Can you rescue a burnt marshmallow?
Sometimes! If only the very outermost layer is lightly charred, you can often gently peel off the burnt shell to reveal a wonderfully gooey, melted marshmallow underneath. If it’s completely black and crispy, it’s generally beyond rescue and best to start fresh.
S’mores Mastery for Your Campfire
With these detailed techniques and a little practice, you’ll be able to create truly perfect campfire s’mores without burning. Embrace the warmth of the fire, the aroma of roasting sugar, and the joy of sharing a perfectly crafted treat.











