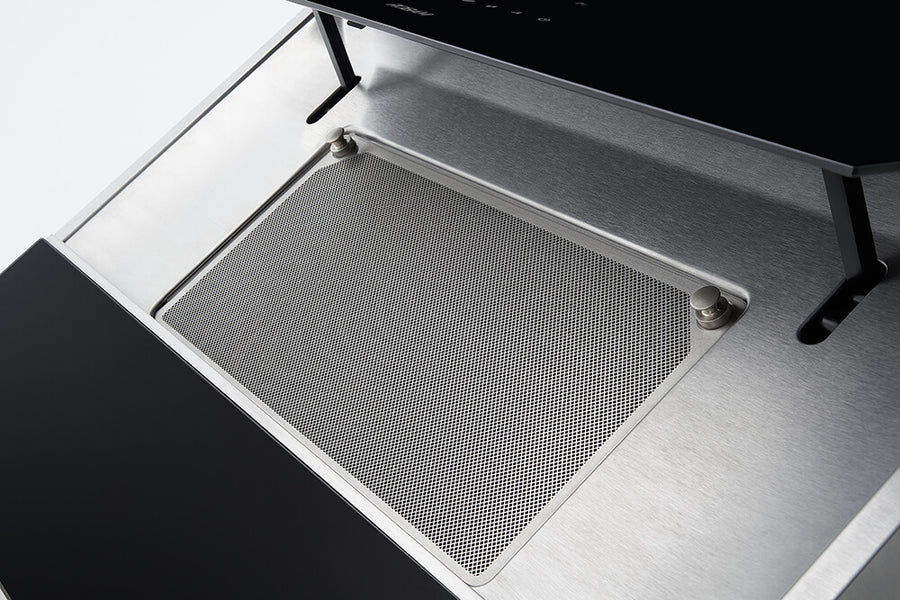
How to Remove Black Gunk from Hood Filter
Having a clean and functional hood filter is essential for a well-maintained kitchen. Over time, grease and grime can accumulate on the filter, resulting in stubborn black gunk that can be challenging to remove. However, with the right techniques and tools, you can effectively clean your hood filter and ensure it operates efficiently. Here are some expert tips on how to remove black gunk from your hood filter:
1. Prepare your work area
Before you start cleaning your hood filter, ensure you have a clean and spacious work area with access to hot water and cleaning supplies. It’s also advisable to wear gloves and protective gear to prevent any contact with harmful chemicals.
2. Remove the hood filter
Most hood filters are easily removable from the hood system. Carefully detach the filter according to the manufacturer’s instructions. Avoid forcing the filter out as it may cause damage to the hood or the filter itself.
3. Soak in degreaser solution
Prepare a solution of warm water and a degreaser detergent in a large container. Submerge the hood filter in the solution and let it soak for at least 15-20 minutes. The degreaser will help break down the black gunk and grease buildup.
4. Scrub the filter
After soaking, use a scrubbing brush or sponge to gently scrub the hood filter. Concentrate on areas with stubborn black gunk, applying more pressure as needed. Avoid using abrasive tools that may damage the filter’s surface.
5. Rinse and dry
Once the filter is free from black gunk, rinse it thoroughly with hot water to remove any remaining residue. Allow the filter to air dry completely before reattaching it to the hood system.
6. Regular maintenance
To prevent the buildup of black gunk in the future, make it a habit to clean your hood filter regularly. Consider scheduling monthly cleaning sessions to keep your filter in top condition and prolong its lifespan.
7. Reinstall the filter
Once the hood filter is dry, carefully reinstall it back into the hood system following the manufacturer’s instructions. Ensure it fits securely and is properly aligned to maintain optimal ventilation in your kitchen.











