Living in Las Vegas, my favorite memories involve warm desert nights, sparkling pool parties, and friends gathered around a massive spread of food. One Memorial Day weekend, instead of sweating over a smoky grill all afternoon, I set up a massive DIY nacho spread on the patio table. It was an instant hit—guests loved customizing their plates Vegas-style, and I actually got to enjoy my own party with a margarita in hand.
Transform any gathering with a build-your-own nachos station that takes the stress out of hosting. With Memorial Day coming up on May 26, 2026, and the summer entertaining peak approaching, there is no better time to master this crowd-pleasing trend. Highly viral on Pinterest and Instagram, an interactive nacho bar allows everyone—from gluten-free guests to picky eaters—to build their dream plate.

Why nachos bars are perfect for entertaining
Planning a party can feel like a culinary juggling act. A customizable nacho station solves this beautifully. Because all ingredients are kept separate, your gluten-free friends can pile their plates high with corn tortilla chips, while vegetarian guests can skip the meat and load up on grilled corn and guacamole.
Additionally, much of the prep work can be done well in advance. You can chop veggies, shred cheeses, and prepare salsas the morning of your event, leaving you to mingle when guests arrive. This interactive dining style also serves as a fantastic icebreaker, getting people up, mingling, and comparing their creative creations.

Essential nacho bar components and ingredients
To build a legendary spread, you need a balance of textures, temperatures, and flavors. Here are the foundational elements you will need:
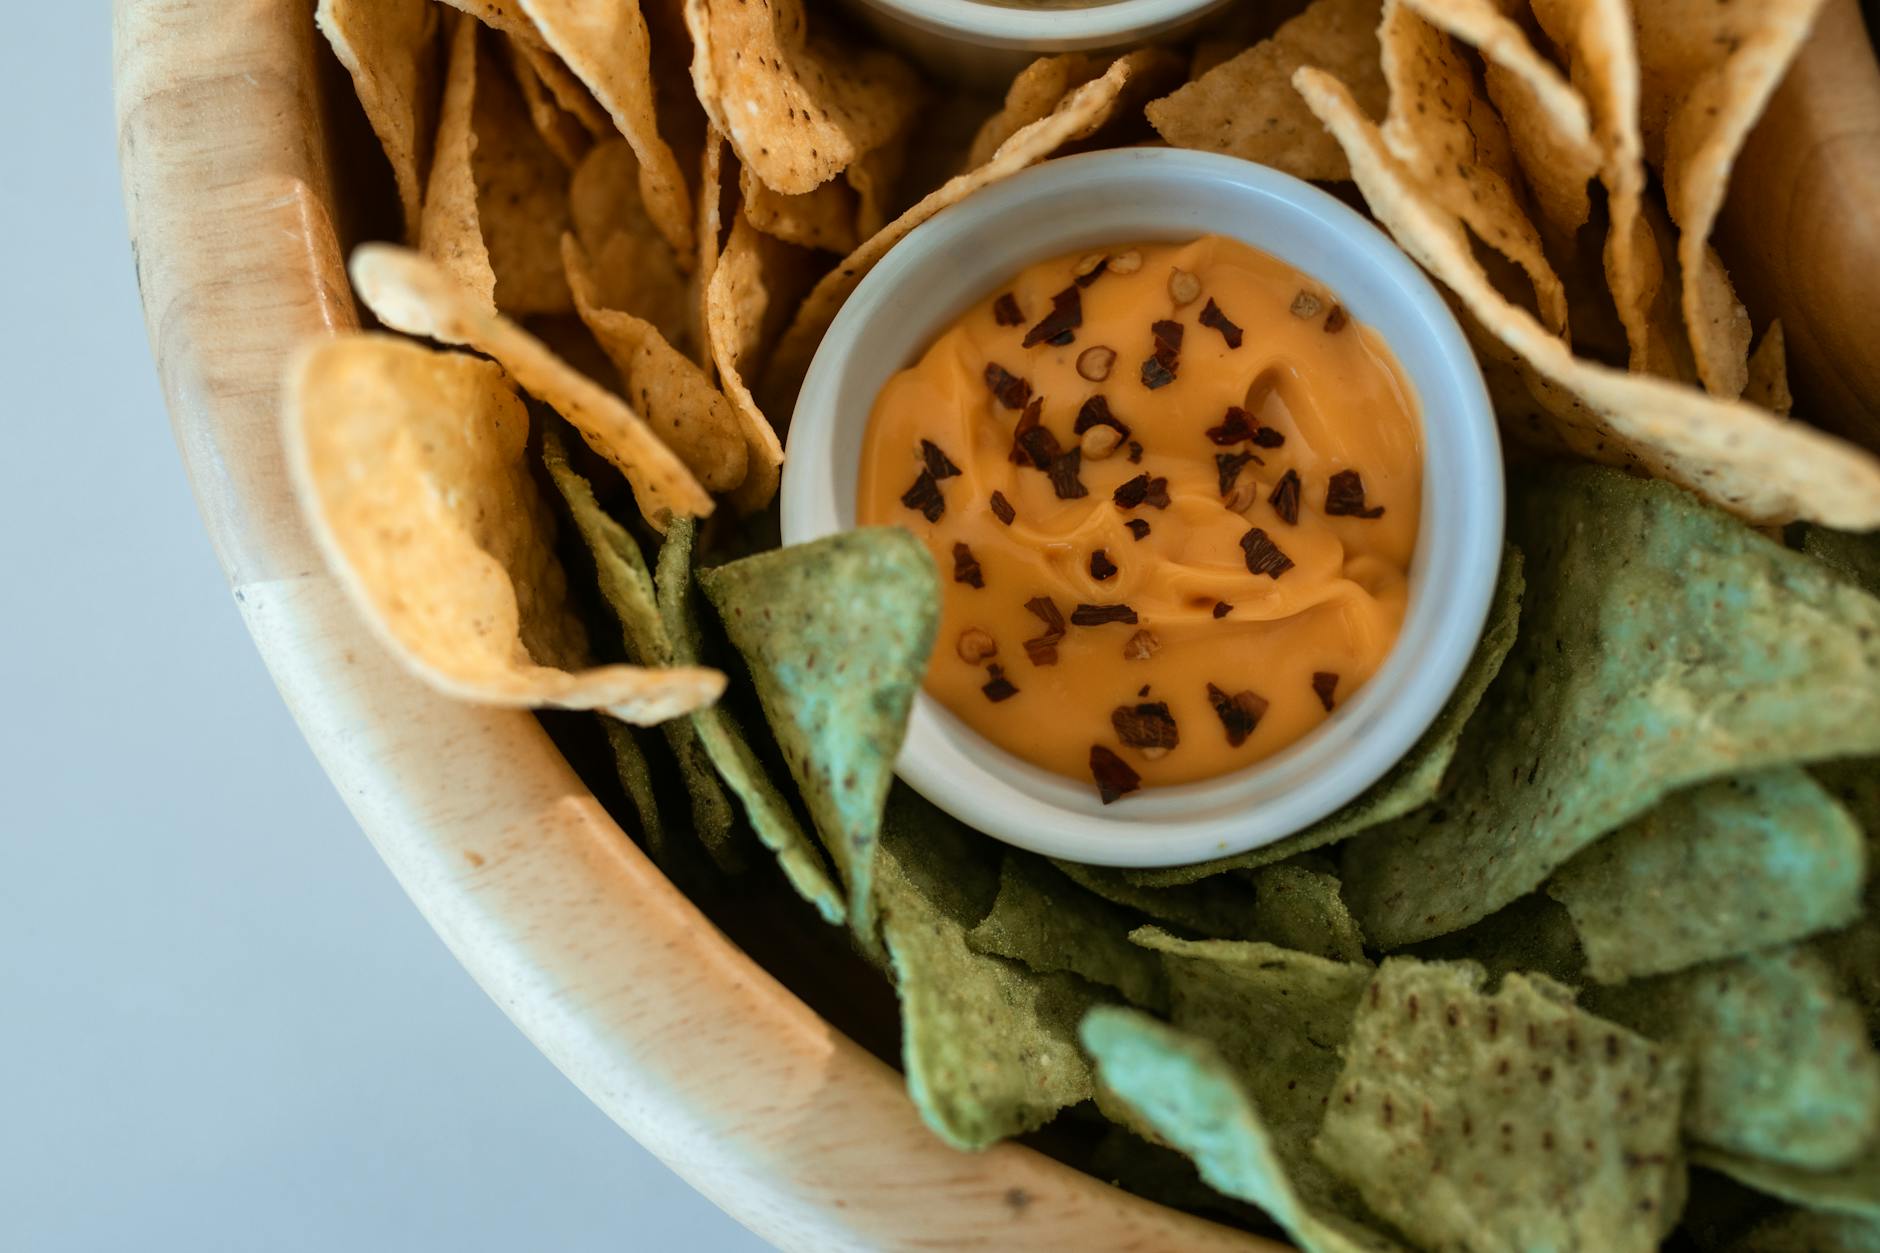
- The Base: Sturdy, thick-cut corn tortilla chips that won’t get soggy. Plan for 4 to 6 ounces per guest.
- The Proteins: Seasoned ground beef, shredded chicken, or seasoned black beans.
- The Cheeses: A warm, silky cheese sauce and shredded Monterey Jack.
- The Fresh Elements: Pico de gallo, diced tomatoes, and chopped fresh cilantro.
- The Creamy Extras: Fresh guacamole and sour cream.
- The Acid & Heat: Pickled jalapeños and lime wedges.
Setting up your nachos bar station
When you are learning how to make loaded nachos bar setup options work for your backyard, the golden rule is logical flow. Arrange your ingredients in the order that guests will build their plates to prevent traffic jams.
Start by placing plates and napkins at one end. Sturdy paper boats work best because they give guests plenty of surface area. Next, place your chip bowls. Follow the chips with hot proteins and warm cheese sauces. Finish with the cold toppings, fresh garnishes, and lime wedges at the very end.
Hot ingredients and cheese sauce preparation
The secret to an unforgettable nacho bar is keeping your hot ingredients warm. For the protein, cook up 1 pound of ground beef with 2 tablespoons of taco seasoning, or warm up 2 cups of seasoned black beans.
For the cheese sauce, skip the canned stuff. Whisk 1 tablespoon of cornstarch into 12 ounces of evaporated milk, then heat over medium-low heat. Whisk in 2 cups of shredded sharp cheddar and 1 cup of Monterey Jack cheese until melted and silky smooth. A crucial part of mastering how to make loaded nachos bar setup success is keeping your warm components at around 140°F to 150°F so they stay perfectly melted.
Cold toppings and fresh additions
Once the hot base is laid down, guests will want to cool things down with fresh, vibrant layers. Prepare 2 cups of fresh guacamole, 1 cup of sour cream, and 1.5 cups of fresh pico de gallo.
To make your station look like a viral Instagram post, serve your cold toppings in matching small bowls. Bright green jalapeños, vibrant red diced tomatoes, and deep green chopped cilantro will make the table pop. Keep a bowl of lime wedges nearby so guests can add a fresh squeeze of citrus to cut through the rich cheese.
Pro tips for keeping everything fresh and hot
- Use slow cookers: Keep your proteins and cheese sauce warm on the lowest setting of your slow cookers. If the cheese sauce gets too thick, whisk in a tablespoon of warm milk.
- Utilize ice baths: If you are figuring out how to make loaded nachos bar setup plans for an outdoor summer party, put your cold toppings in bowls nestled inside larger bowls filled with ice to keep things chilled and food-safe.
- Refresh in batches: Keep half of your chips and guacamole in the kitchen and replenish the bowls halfway through the party so everything stays crisp and vibrant.
Frequently Asked Questions
How do I keep nachos crispy if I’m making them ahead?
Do not assemble the nachos ahead of time! The absolute best way to ensure crispy nachos is to let guests build their plates as they eat. Keep the tortilla chips in sealed containers or bags until right before serving to protect them from humidity.
What’s the best way to keep cheese sauce warm?
A small slow cooker on the “warm” setting or a fondue pot is the ideal solution. Stir the cheese sauce occasionally to prevent a skin from forming, and add a splash of warm milk if it needs to be thinned out.
How many toppings should I offer for a party?
Aim for 6 to 8 toppings to give your guests plenty of variety without overwhelming yourself with prep. A standard lineup of two proteins, warm cheese sauce, guacamole, sour cream, jalapeños, and fresh salsa is always a winning combination.
Can I make a vegetarian nachos bar?
Yes, absolutely! Just swap out the meat for seasoned black beans, pinto beans, or fajita-style grilled peppers and onions. Ensure your cheese sauce is made with vegetarian-friendly rennet, and offer plenty of fresh vegetables.
Hosting the Ultimate Summer Bash
Now that you know how to make loaded nachos bar setup ideas come to life, you are ready to host the ultimate backyard bash. For a fun twist, try a themed variation like a “Vegas High Roller” bar featuring smoked brisket and cotija cheese, or a “Cabo Beach” style with grilled shrimp and mango salsa. Gather your favorite people, mix up some drinks, and let everyone build their own perfect plate of loaded nachos this summer!











