How to Make Beeswax Wraps
Introduction
Beeswax wraps are a sustainable and reusable alternative to plastic wrap for storing and covering food. These wraps are made using cotton fabric, beeswax, and a few other ingredients. In this guide, we will walk you through the process of creating your own beeswax wraps at home.
Materials Needed
- Cotton fabric
- Beeswax pellets or grated beeswax
- Pine rosin (optional, for stickiness)
- Jojoba oil or coconut oil
- Baking sheet
- Parchment paper
- Scissors
- Paintbrush
Step-by-Step Guide
1. Cut the Fabric
Begin by cutting your cotton fabric into desired sizes for your wraps. Common sizes range from small squares to larger rectangles, depending on your needs.
2. Prepare the Wax Mixture
Combine beeswax, pine rosin, and jojoba or coconut oil in a double boiler or microwave-safe bowl. Heat and stir the mixture until it is fully melted and well combined.
3. Apply the Wax
Place a piece of parchment paper on a baking sheet. Lay the fabric flat on the parchment paper and brush the wax mixture evenly onto the fabric. Make sure to coat the entire piece of fabric.
4. Set and Dry
Once the fabric is coated, place it in the oven at a low temperature (around 200°F or 100°C) for a few minutes to allow the wax to fully melt into the fabric. Remove the fabric from the oven and let it cool and harden.
5. Trim and Use
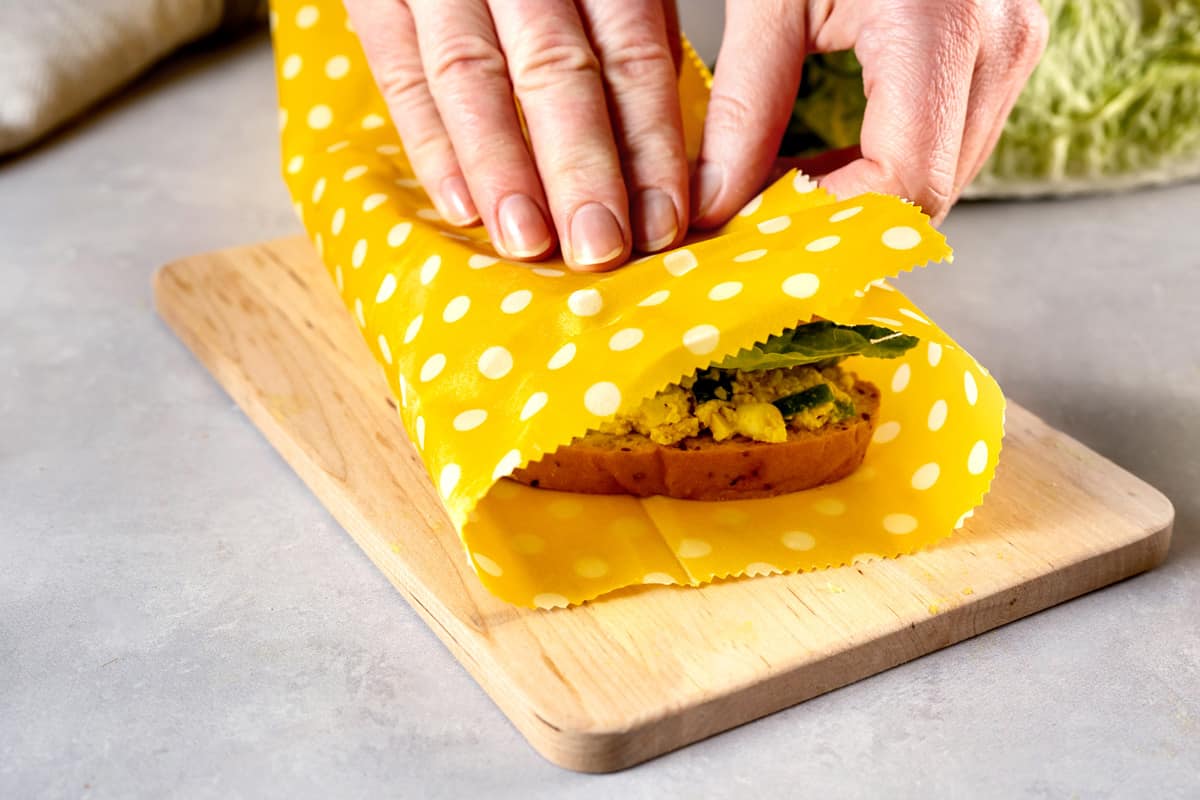
Trim any excess wax or fabric edges if needed. Your beeswax wraps are now ready to use! The wraps will mold and stick to the shape of your food containers using the heat of your hands.
Conclusion
Creating your own beeswax wraps is not only a fun DIY project but also a sustainable way to reduce plastic waste in your kitchen. By following the simple steps outlined above, you can make reusable and eco-friendly food wraps for your daily use. For more eco-friendly tips and products, visit Larrea Las Vegas.











