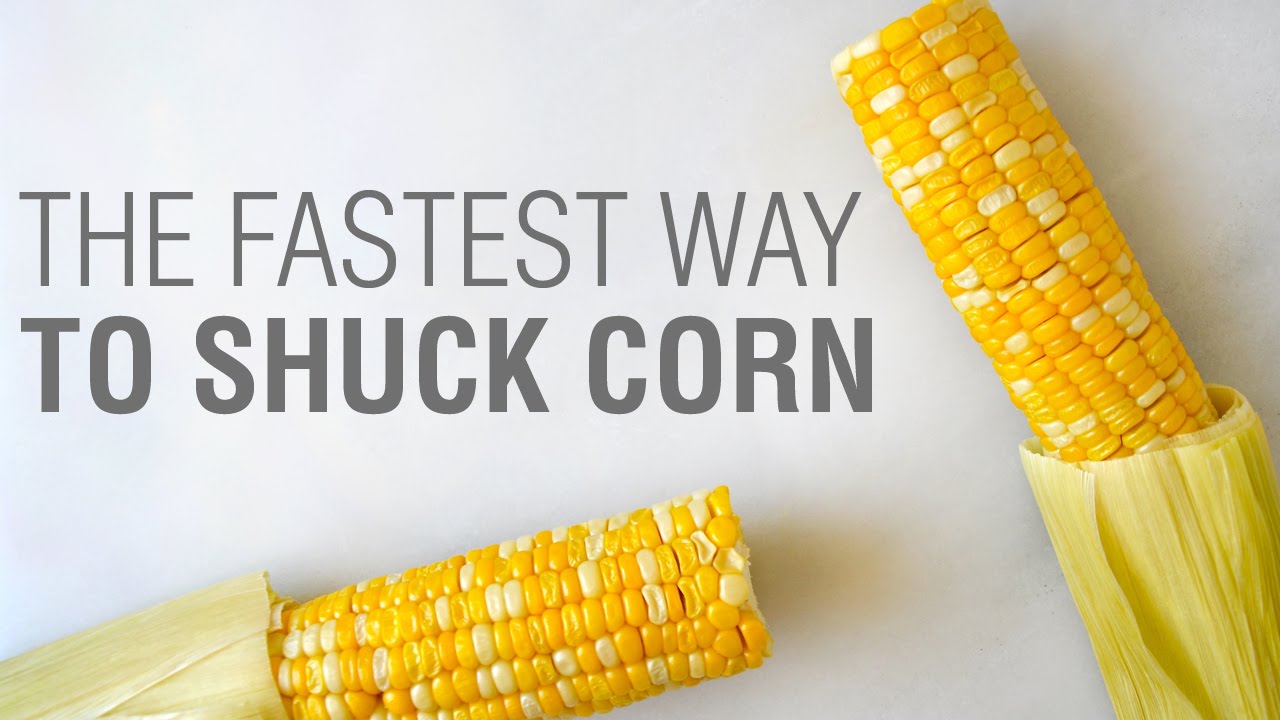
How to Husk Corn Like an Expert
Grilled corn on the cob is a delicious summer treat that many enjoy, but husking corn can be a daunting task for some. However, with the right technique and some practice, you can husk corn like an expert in no time. Below, we will guide you through the steps to husk corn effectively.
Materials Needed:
- Fresh corn on the cob
- Large pot for soaking
- Sharp knife
Step 1: Selecting the Corn
Choose fresh corn on the cob with vibrant green husks and golden yellow silk. The husks should be tightly wrapped around the cob and slightly damp to indicate freshness.
Step 2: Soaking the Corn
Fill a large pot with cold water and add the corn cobs. Allow them to soak for about 15-20 minutes. This will help soften the husks and make them easier to peel off.
Step 3: Husking
Start by peeling back the outer green husks one by one, taking care not to damage the kernels. As you peel, remove the silk threads along with the husks. Once the green husks are removed, gently peel back the inner layers, ensuring all silk is removed.
Step 4: Removing the Silk
If any silk remains after husking, use a damp paper towel or kitchen brush to gently remove it from between the kernels.
Step 5: Final Touches
Rinse the husked corn under cold water to ensure all silk is removed. Pat the cobs dry with a paper towel before cooking or grilling.
Summary
Husking corn may seem like a daunting task, but with the right technique, it can be a simple and enjoyable process. By following these steps, you can husk corn like an expert and enjoy fresh, delicious corn on the cob all summer long.











