How to Freeze Okra Like an Expert
Okra is a versatile and nutritious vegetable that can be enjoyed year-round, thanks to freezing. Freezing okra is a great way to preserve its freshness and flavor for future use. This step-by-step guide will show you how to freeze okra like an expert, ensuring that you can enjoy this delicious vegetable whenever you want.
Step 1: Selecting Fresh Okra
Choose fresh okra that is firm, brightly colored, and free from blemishes. Wash the okra thoroughly under running water to remove any dirt or debris.
Step 2: Preparing the Okra
Trim the stems off the okra and cut them into your desired size, whether it’s whole, sliced, or diced. Blanching the okra before freezing can help preserve its color, texture, and flavor.
Step 3: Blanching the Okra (Optional)
To blanch the okra, bring a pot of water to a boil and immerse the okra in the boiling water for 2-3 minutes. Quickly transfer the okra to an ice water bath to stop the cooking process, then drain and pat dry.
Step 4: Freezing the Okra
Spread the prepared okra in a single layer on a baking sheet or tray lined with parchment paper. Place the tray in the freezer and allow the okra to freeze for a few hours, until firm.
Step 5: Packaging the Okra
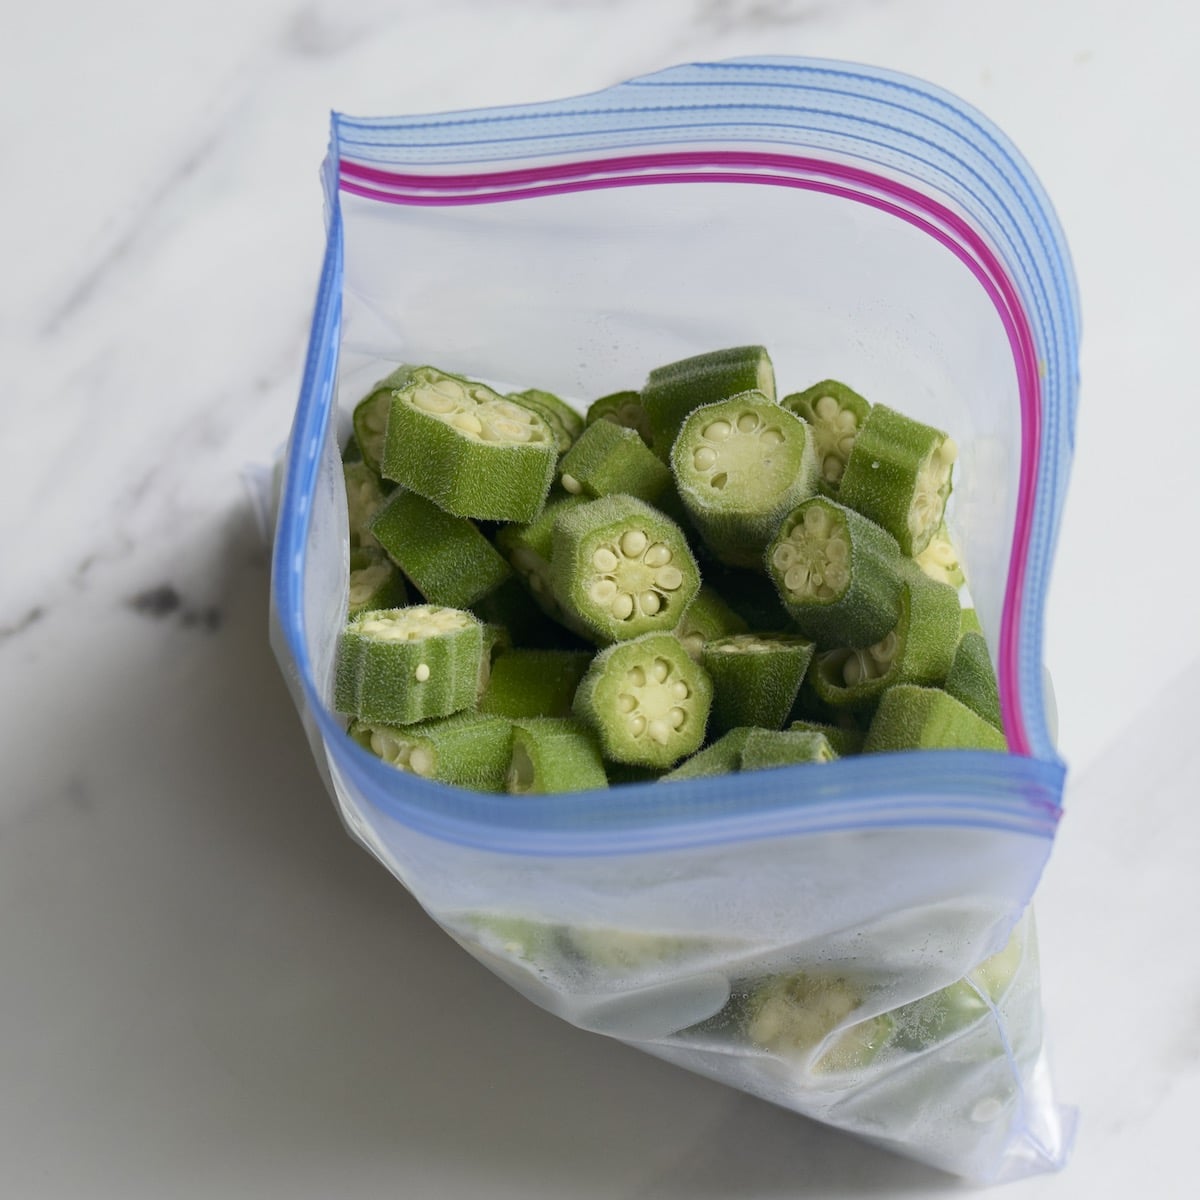
Once the okra is frozen, transfer it to airtight containers or resealable freezer bags. Remember to label the containers with the date of freezing for easy identification.
Step 6: Storing the Okra
Store the frozen okra in the coldest part of your freezer, where it will maintain its quality for up to 12 months. Do not refreeze okra once it has been thawed.
Step 7: Thawing and Using Frozen Okra
When you’re ready to use the frozen okra, thaw it in the refrigerator overnight or use it directly in cooked dishes like soups, stews, or stir-fries. Frozen okra may have a slightly softer texture than fresh okra but will still be delicious and nutritious.
By following these steps, you can freeze okra like an expert and enjoy its flavor and health benefits throughout the year.











