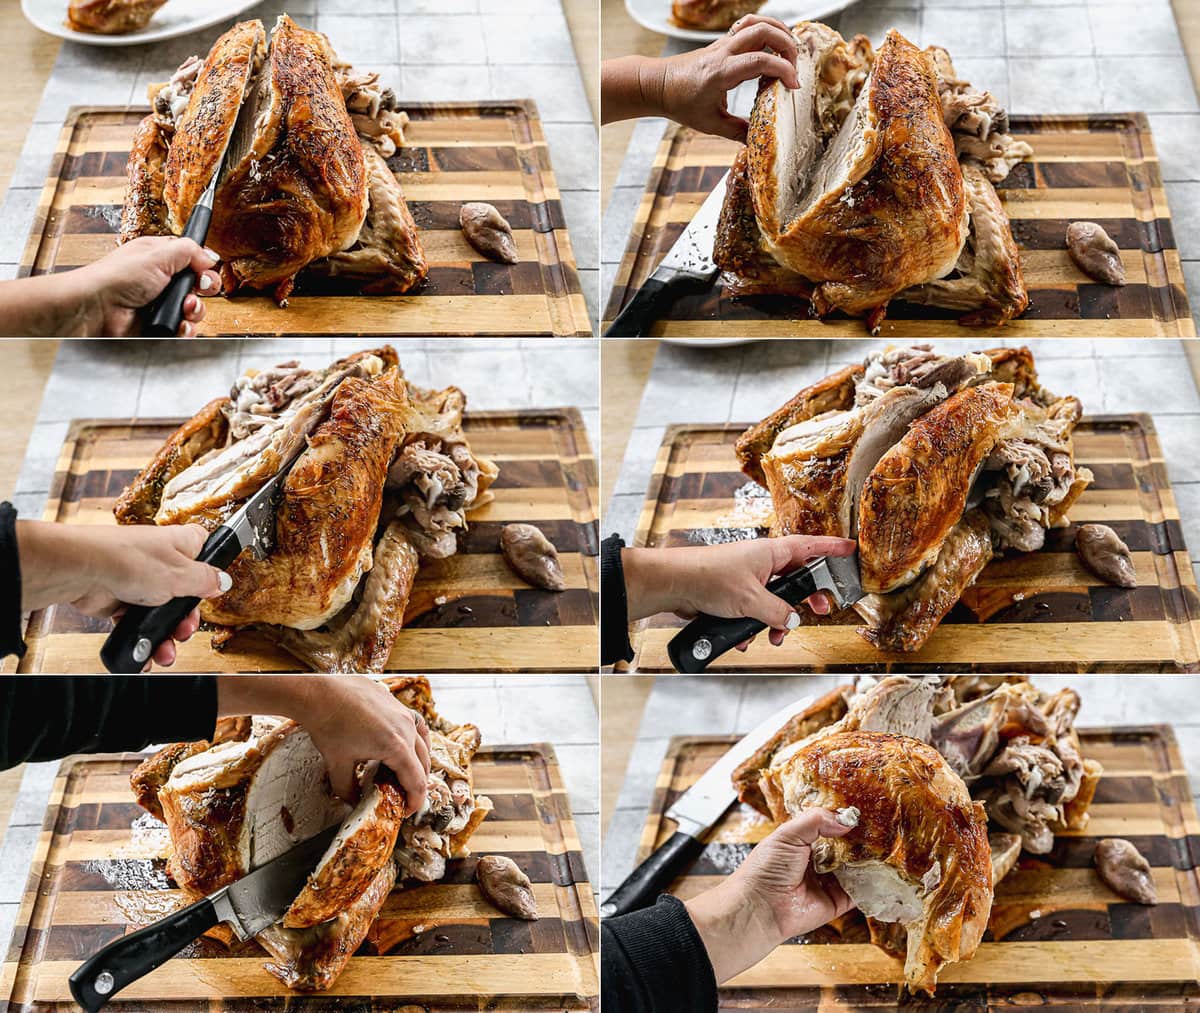
How to Carve a Turkey like an Expert
Carving a turkey is a traditional and essential skill for anyone hosting a festive meal. Whether it’s Thanksgiving, Christmas, or any special occasion, knowing how to carve a turkey properly will impress your guests and ensure that everyone gets a delicious slice of meat. Follow these step-by-step instructions to carve a turkey like an expert.
Step 1: Let the Turkey Rest
After roasting the turkey, allow it to rest for about 20-30 minutes before carving. This allows the juices to redistribute and makes the meat juicier and more flavorful.
Step 2: Gather Your Tools
Make sure you have a sharp carving knife, a carving fork, a cutting board, and a serving platter ready before you start carving the turkey.
Step 3: Remove the Legs
Start by removing the legs from the turkey. Hold the drumstick firmly and cut through the skin between the leg and the body. Then, gently pull the leg away from the body and cut through the joint to separate it from the turkey.
Step 4: Separate the Thighs and Drumsticks
Separate the thigh from the drumstick by cutting through the joint that connects them. Repeat this process for the other leg.
Step 5: Carve the Breast
Locate the breastbone in the center of the turkey and slice along one side of it to remove the breast meat. Slice the breast meat against the grain into thin slices for serving.
Step 6: Serve and Enjoy
A beautifully carved turkey is ready to be served. Arrange the slices on a platter and garnish with fresh herbs before serving to your guests.
Extra Tips:
- Keep the knife sharp for clean, easy cuts.
- Slice the meat against the grain for tender slices.
- Save the carcass for making delicious turkey stock or soup.
Practice Makes Perfect
Carving a turkey may seem daunting at first, but with practice, you’ll become more confident and skilled at it. Remember, the key is patience and precision.











