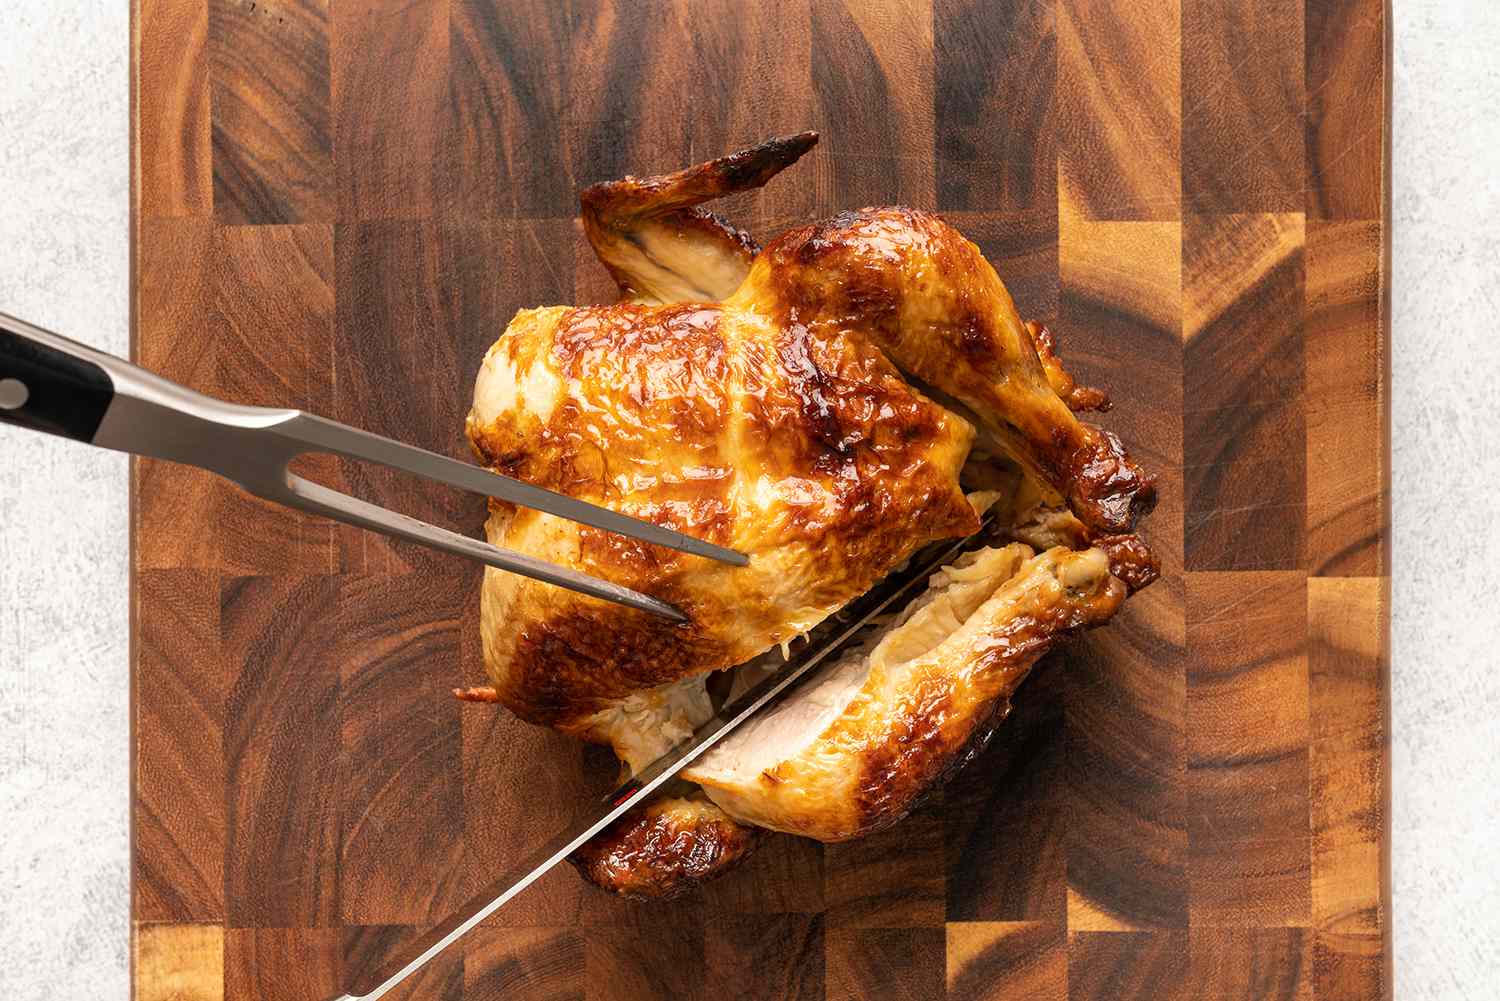
How to Carve a Chicken Like an Expert
Carving a whole chicken can seem daunting at first, but with the right technique and practice, you can easily master this essential culinary skill. Whether you’re preparing a Sunday roast or serving up a delicious meal for friends and family, knowing how to properly carve a chicken will elevate your cooking game to the next level.
What You’ll Need
- Roast chicken
- Cutting board
- Sharp carving knife
- Poultry shears (optional)
- Serving platter
Step 1: Rest the Chicken
After removing the chicken from the oven, let it rest for about 10-15 minutes. This allows the juices to redistribute and ensures a moist and tender meat.
Step 2: Remove the Legs
Start by cutting between the leg and the body of the chicken to detach it. Pull the leg away from the body and cut through the joint to remove it completely. Repeat this process for the other leg.
Step 3: Separate the Thighs and Breasts
Next, separate the thighs from the breasts by cutting through the joint that connects them. Use your knife to slice along the breastbone to remove the breasts in one piece.
Step 4: Slice the Breasts
Position the breast skin-side up on the cutting board and slice it against the grain into even slices. This will ensure that each piece is tender and juicy.
Step 5: Carve the Wings
Lastly, remove the wings by cutting through the joint where they connect to the body. Feel for the joint and cut through it to detach the wings.
Step 6: Serve and Enjoy
Arrange the carved chicken pieces on a serving platter and garnish with herbs or lemon wedges for a beautiful presentation. Your perfectly carved chicken is now ready to be enjoyed!
Practice Makes Perfect
Carving a chicken may take some practice, but don’t be discouraged if your first attempt isn’t perfect. With time and experience, you’ll soon be carving chickens like a pro.
For more expert cooking tips and recipes, visit our home page.











