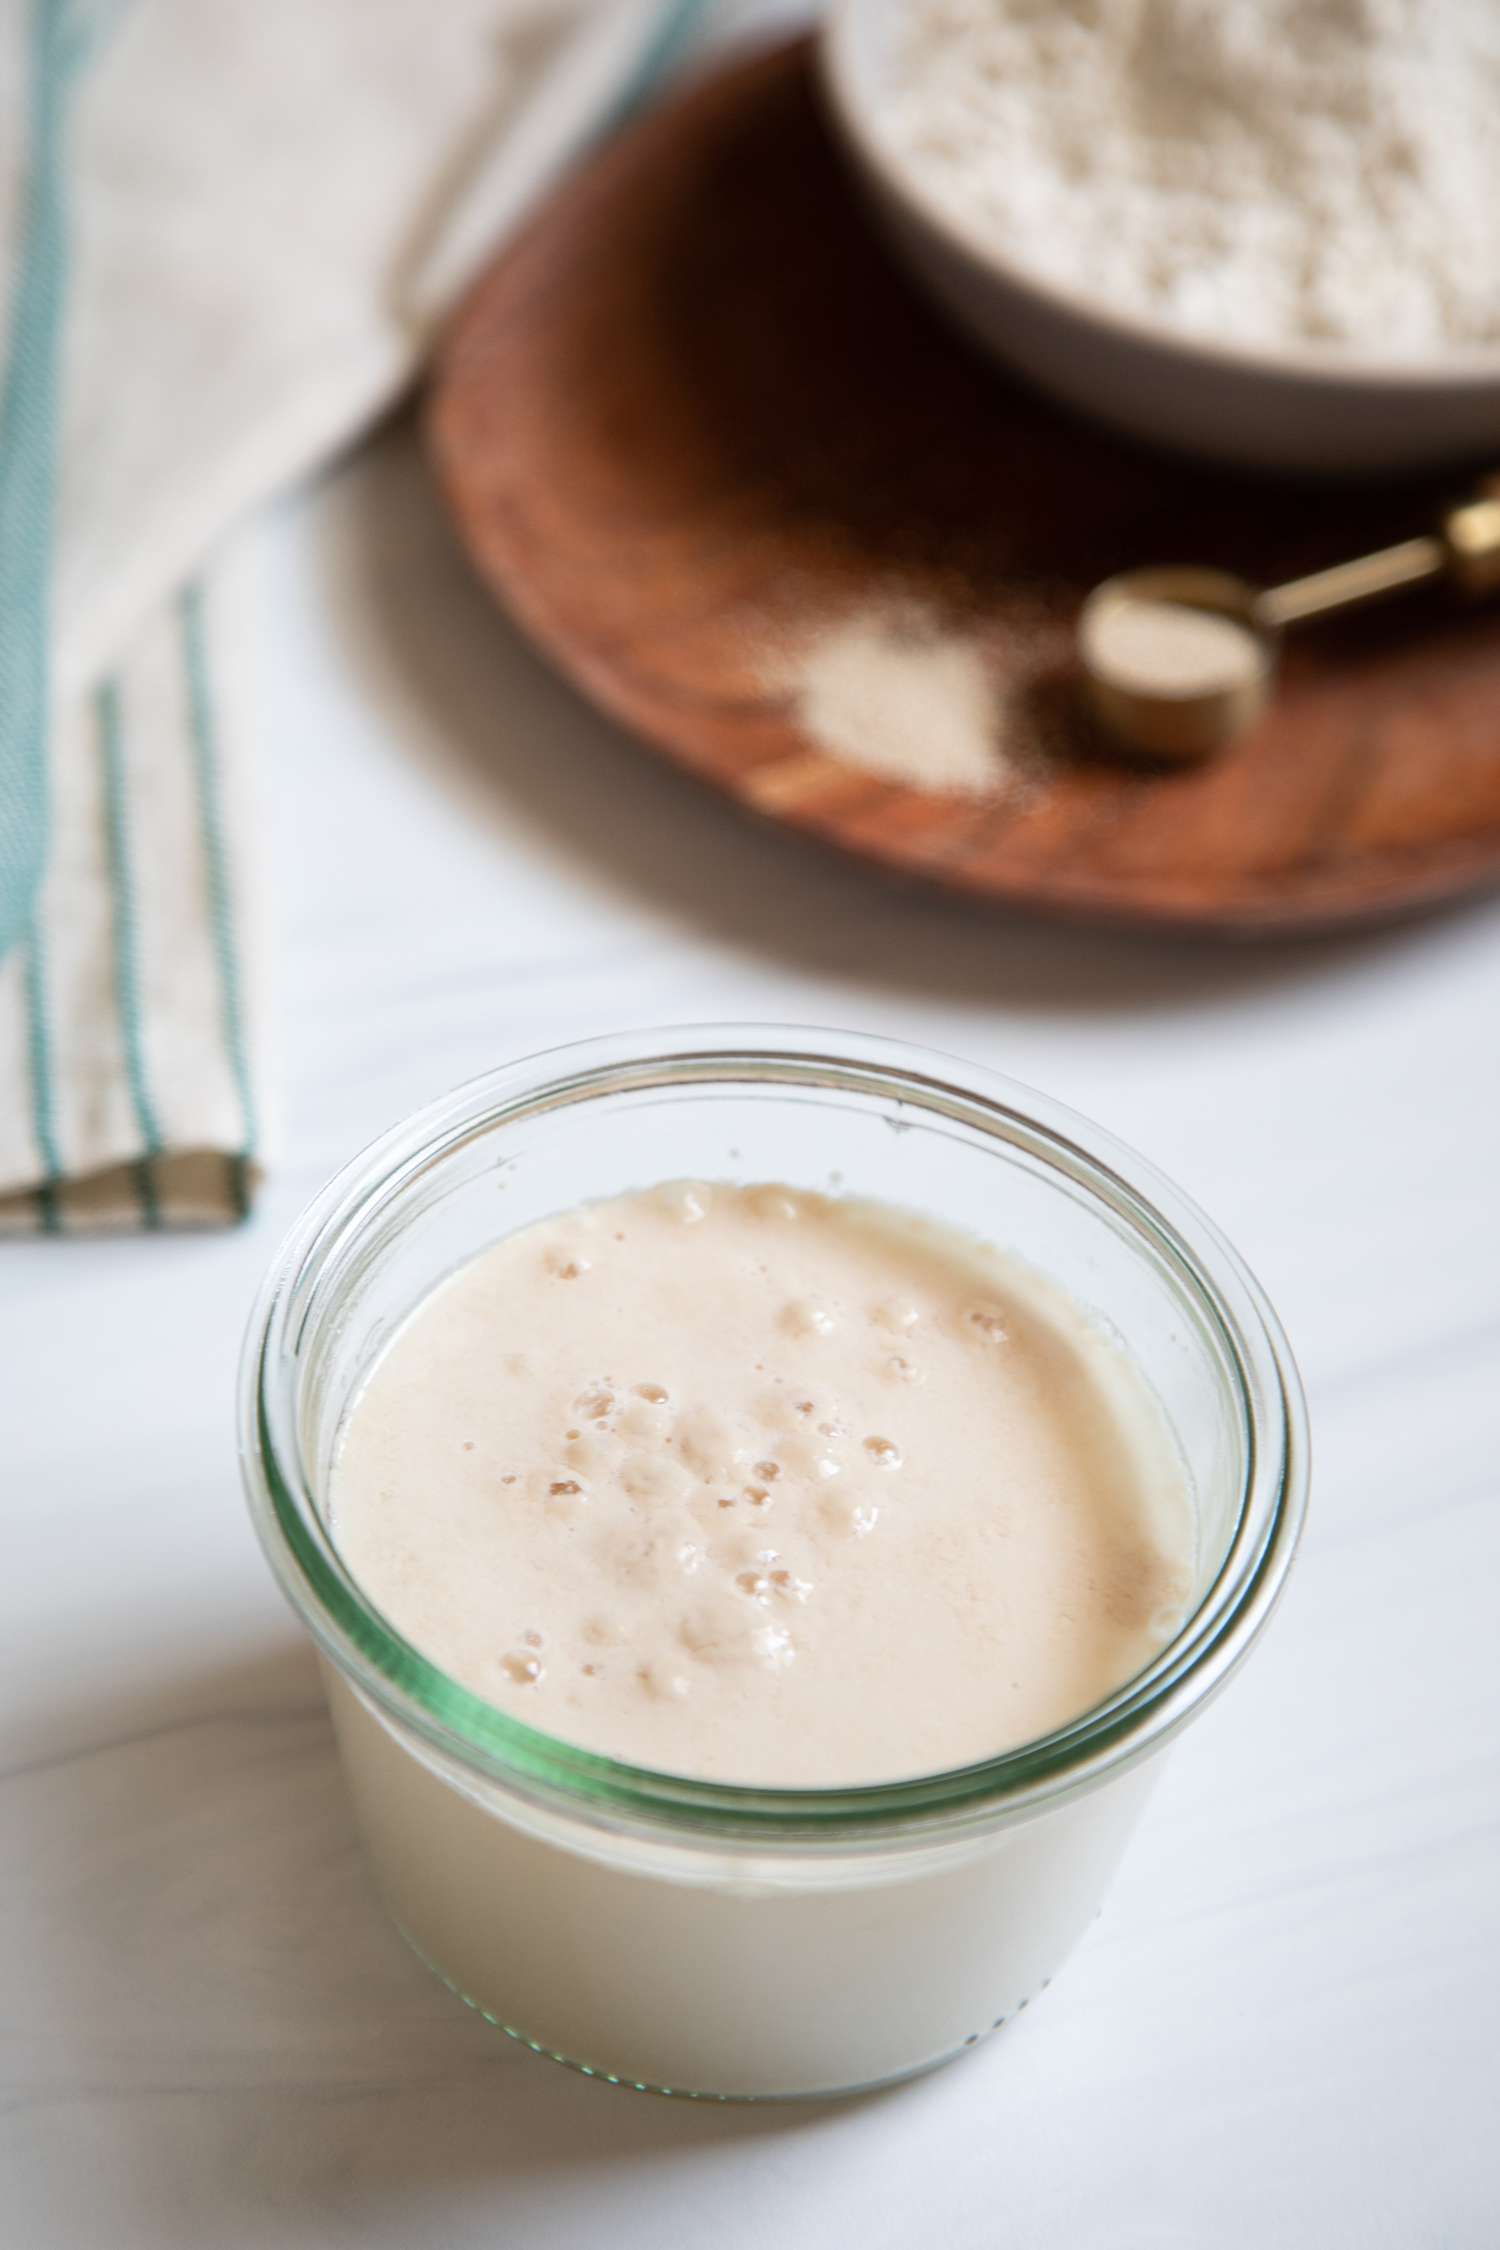
How to Proof Yeast Like an Expert
Proofing yeast is a crucial step in baking that ensures your breads, rolls, and other baked goods rise properly. Yeast is a living organism, and by proofing it, you are validating that it is active and ready to leaven your dough. Here’s how you can proof yeast like an expert:
Ingredients:
- Warm water (around 110°F / 43°C)
- 1 packet of active dry yeast (or equivalent amount)
- Pinch of sugar (optional)
Steps to Proof Yeast:
- Activate the Yeast: Dissolve a pinch of sugar in the warm water. Then, sprinkle the yeast over the water’s surface. Stir gently to combine.
- Wait for Bubbles: Let the yeast mixture sit for 5-10 minutes. After a few minutes, you should see small bubbles forming on the surface. This indicates that the yeast is alive and active.
- Check for Foam: If the yeast is effectively proofed, there will be a layer of foam on top of the water. This foam signifies that the yeast is ready to be added to your dough.
Tips for Successful Proofing:
- Make sure your water is at the right temperature. Too hot can kill the yeast, while too cold won’t activate it.
- Use fresh yeast for the best results. Check the expiration date on the yeast packet before using.
- Allow enough time for proofing. Rushing this step can lead to flat baked goods.
By following these steps and tips, you can confidently proof yeast for your baking projects. Remember, successfully proofed yeast is the foundation for light, airy, and perfectly risen bread. Happy baking!











