Homemade Ice Cream Flavors Beyond Vanilla: Fresh Summer Recipes
There’s a unique satisfaction that comes from creating something delicious with your own hands, especially when it’s a treat as universally loved as ice cream. As the summer sun shines bright and National Ice Cream Day approaches, it’s the perfect time to dive into the world of delightful homemade ice cream recipes. Forget the basic vanilla; this summer, we’re celebrating fresh, vibrant flavors that are surprisingly easy to whip up right in your kitchen.

No-Churn Ice Cream Base (The Simplest Method)
Making delicious ice cream doesn’t require an expensive machine. This no-churn method leverages whipped heavy cream and sweetened condensed milk to create an incredibly smooth, creamy base perfect for mixing in your favorite flavors. It’s simple, quick, and yields fantastic results!
Basic No-Churn Ice Cream Base
- 2 cups (1 pint) cold heavy cream (at least 36% milk fat)
- 1 (14-ounce) can sweetened condensed milk
- 1 teaspoon pure vanilla extract
Instructions:
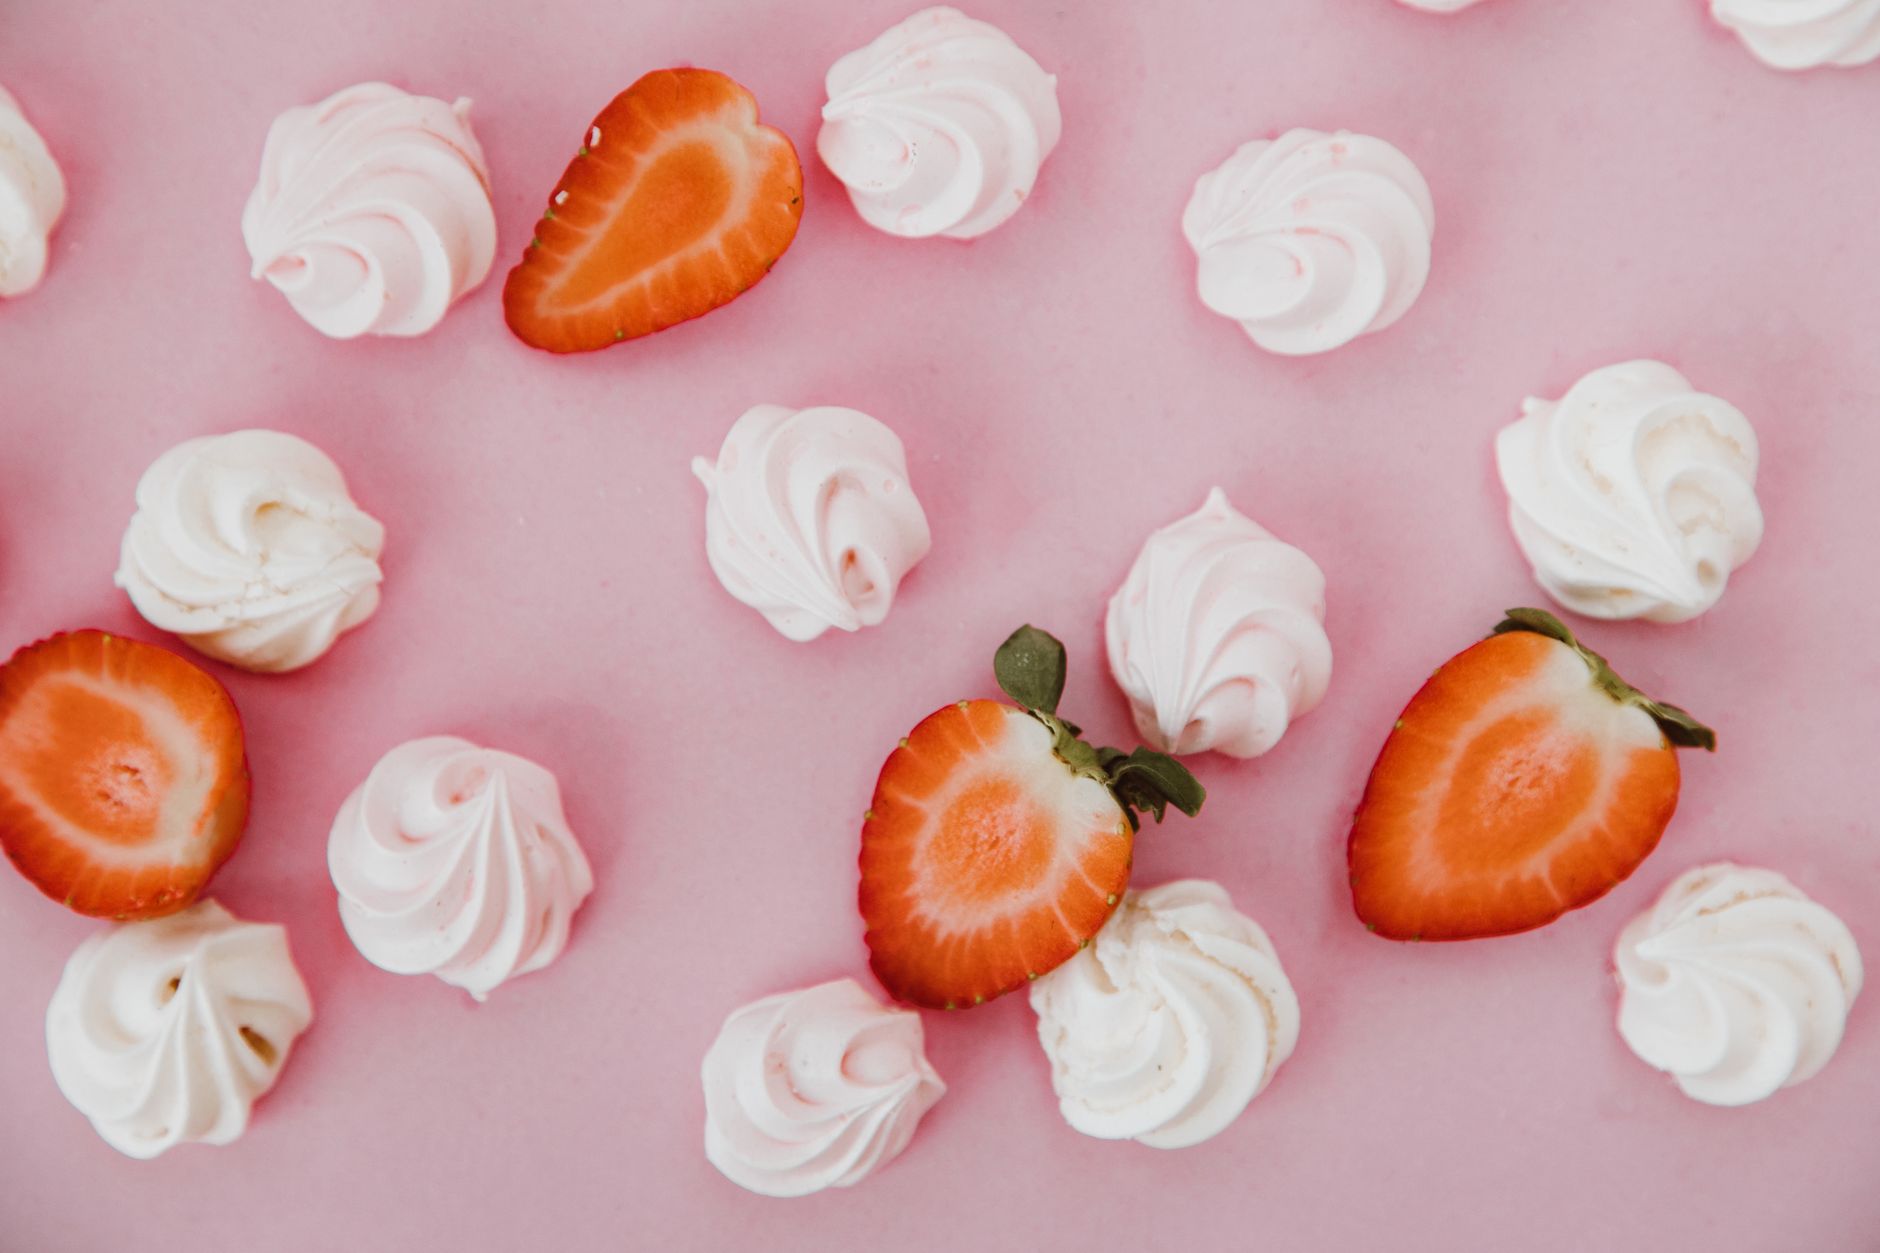
- In a large mixing bowl, using an electric mixer, whip the cold heavy cream on medium-high speed until stiff peaks form.
- In a separate bowl, whisk together the sweetened condensed milk and vanilla extract.
- Gently fold about one-third of the whipped cream into the sweetened condensed milk mixture to lighten it.
- Carefully fold in the remaining whipped cream until no streaks remain. This is your base, ready for flavor additions!
Machine-Churned Ice Cream Base
For those with an ice cream maker, a traditional churned base offers a dense, rich texture. This no-cook version is quick to prepare and chills beautifully, ready for your machine.
Basic Machine-Churned Ice Cream Base
- 2 cups heavy cream
- 1 cup whole milk
- 3/4 cup granulated sugar
- 1 teaspoon pure vanilla extract
- Pinch of salt
Instructions:
- In a large bowl, whisk together the heavy cream, whole milk, granulated sugar, vanilla extract, and salt until the sugar is fully dissolved.
- Cover and chill in the refrigerator for at least 2 hours, or preferably overnight.
- Pour the chilled mixture into your ice cream maker and churn according to the manufacturer’s instructions, usually 20-30 minutes, until it reaches a soft-serve consistency.
Four Summer Flavor Recipes
Now for the fun part! These homemade ice cream recipes highlight the best of summer’s bounty, offering a refreshing departure from the usual. We’ve got berry, tropical, herb, and citrus options for you to explore, featuring seasonal fruits available in July.
1. Strawberry Basil Swirl Ice Cream
This flavor combines the sweet tartness of fresh strawberries with a hint of aromatic basil, creating a sophisticated yet incredibly refreshing scoop.
- 2 cups fresh strawberries, hulled and diced
- 1/4 cup granulated sugar
- 1 tablespoon fresh lemon juice
- 2 tablespoons finely chopped fresh basil leaves
- One batch of your chosen Ice Cream Base (No-Churn or Machine)
Instructions:
- In a small saucepan, combine diced strawberries, granulated sugar, and lemon juice. Cook over medium-low heat until strawberries soften and break down into a chunky sauce, about 8-10 minutes.
- Remove from heat and stir in the chopped fresh basil. Let the mixture cool completely.
- To Incorporate:
- For No-Churn: Gently fold about 3/4 of the cooled strawberry basil sauce into the prepared No-Churn Ice Cream Base. Pour half into a freezer-safe container, dollop remaining sauce, and top with the rest of the ice cream. Swirl gently with a knife. Freeze for at least 6 hours, or until firm.
- For Machine-Churned: When your Ice Cream Base is churned to a soft-serve consistency, gently fold in the cooled strawberry basil sauce. Transfer to a freezer-safe container and freeze for 4-6 hours until firm.
2. Mango Coconut Dream Ice Cream
Transport yourself to a tropical paradise with this creamy, vibrant mango and coconut delight. Using ripe, juicy mangoes is key for the best flavor.
- 2 ripe mangoes, peeled and diced (about 1.5 cups puree)
- 1/4 cup full-fat canned coconut milk (not light)
- 2 tablespoons granulated sugar (adjust to taste)
- One batch of your chosen Ice Cream Base
Instructions:
- Blend diced mangoes, coconut milk, and granulated sugar until smooth. Chill the mango puree for at least 30 minutes.
- To Incorporate:
- For No-Churn: Gently fold the chilled mango puree into the prepared No-Churn Ice Cream Base until just combined. Pour into a freezer-safe container and freeze for at least 6 hours, or until firm.
- For Machine-Churned: In the last 5 minutes of churning your Ice Cream Base, gradually add the chilled mango puree. Churn until fully incorporated. Transfer to a freezer-safe container and freeze for 4-6 hours until firm.
3. Peach Rosemary Ice Cream
This unique flavor pairs the sweet, fuzzy goodness of summer peaches with the subtle, earthy notes of fresh rosemary. It’s surprisingly harmonious and incredibly refreshing.
- 2 large ripe peaches, peeled, pitted, and diced
- 1/4 cup granulated sugar
- 1 tablespoon fresh lemon juice
- 1 small sprig fresh rosemary (about 2-3 inches long)
- One batch of your chosen Ice Cream Base
Instructions:
- In a small saucepan, combine diced peaches, granulated sugar, lemon juice, and the whole rosemary sprig. Cook over medium-low heat until peaches soften, about 10-12 minutes.
- Remove the rosemary sprig and discard. Mash the peaches slightly, leaving some chunks for texture. Let the peach mixture cool completely.
- To Incorporate:
- For No-Churn: Gently fold the cooled peach rosemary mixture into the prepared No-Churn Ice Cream Base until just combined. Pour into a freezer-safe container and freeze for at least 6 hours, or until firm.
- For Machine-Churned: When your Ice Cream Base is churned to a soft-serve consistency, gently fold in the cooled peach rosemary mixture. Transfer to a freezer-safe container and freeze for 4-6 hours until firm.
4. Zesty Lemon Raspberry Ripple Ice Cream
Bright, tangy, and bursting with berry flavor, this lemon and raspberry combination is a summer classic. Raspberries are at their peak in July, offering the perfect balance of sweet and tart.
- 1 cup fresh raspberries
- 1/4 cup granulated sugar
- 1 tablespoon fresh lemon juice
- Zest of 1 large lemon (about 1.5 teaspoons)
- One batch of your chosen Ice Cream Base
Instructions:
- In a small saucepan, combine raspberries, granulated sugar, and lemon juice. Cook over medium heat, mashing raspberries, until the mixture thickens slightly into a sauce, about 5-7 minutes. Let cool completely. (Strain for seedless ripple, if desired).
- Stir the lemon zest directly into your prepared Ice Cream Base.
- To Incorporate:
- For No-Churn: Pour half of the lemon-zested base into a freezer-safe container. Dollop half of the cooled raspberry sauce over it. Add the remaining lemon-zested base, then dollop the rest of the raspberry sauce on top. Swirl gently. Freeze for at least 6 hours, or until firm.
- For Machine-Churned: Churn your lemon-zested Ice Cream Base. When churned to a soft-serve consistency, transfer to a freezer-safe container, layering with spoonfuls of the cooled raspberry sauce and gently swirling as you layer. Freeze for 4-6 hours until firm.
Storage, Scooping & Serving Tips
You’ve put in the effort to create these delicious homemade ice cream recipes; now let’s make sure you enjoy every last scoop!
- Airtight is Key: Always store homemade ice cream in a shallow, airtight container to minimize exposure to air and prevent ice crystals and freezer burn.
- Surface Protection: Press a piece of parchment paper or plastic wrap directly onto the surface of the ice cream before putting the lid on for an extra barrier.
- Pre-Scoop Warm-Up: For perfectly scoopable ice cream, remove it from the freezer 10-15 minutes before serving to allow it to soften slightly.
Frequently Asked Questions
Can you make ice cream without an ice cream maker?
Yes, absolutely! The “no-churn” method is incredibly popular for a reason. It uses whipped heavy cream folded with sweetened condensed milk, which creates a rich, smooth ice cream texture without the need for churning. The high fat and sugar content naturally prevent large ice crystals from forming, making it an easy ice cream without machine that delivers fantastic results.
What’s the best way to store homemade ice cream?
The best storage method is in a shallow, freezer-safe, airtight container. Shallow containers allow for quicker and more even freezing. To further protect against ice crystals and freezer burn, place a layer of plastic wrap or parchment paper directly on the surface of the ice cream before sealing the container with its lid. Properly stored, homemade ice cream is best enjoyed within 1-2 weeks.
How do you prevent ice crystals in homemade ice cream?
To minimize ice crystal formation, ensure your recipe has sufficient sugar and fat content, as these ingredients inhibit large crystal growth. For no-churn recipes, sweetened condensed milk is key. For machine-churned, ensure your base is thoroughly chilled before churning, and churn until it’s very firm. Regardless of the method, store your finished ice cream in an airtight container with plastic wrap pressed directly onto the surface to reduce air exposure. Avoid repeated thawing and refreezing, which encourages crystal growth.
Whipping up homemade ice cream is a truly rewarding summer activity, allowing you to get creative with fresh, seasonal ingredients. We hope these homemade ice cream recipes inspire you to experiment and discover your new favorite flavor. Share your delicious creations and favorite combinations with us!